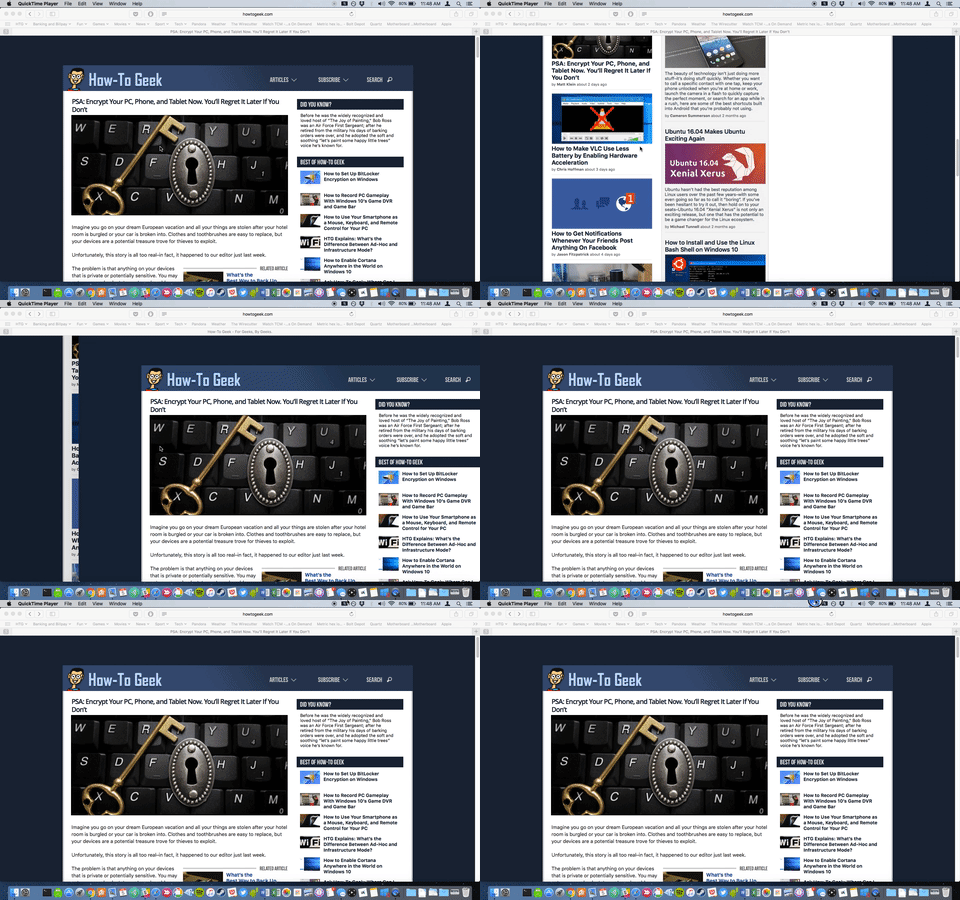
With the Mac, the use of the trackpad will bring us a lot of convenience. Simply perform simple actions, such as swipe right or left with four fingers to open the Mission Control interface, zoom in or out on the trackpad to stretch the frame to the desired point, drag two fingers from Right edge on the trackpad to appear Notification Center. For example, on Safari or other browsers, swipe two fingers on the trackpad to go back or move on to the next.

However, many people do not like the sensitivity of the trackpad, especially when accessing the web browser, because they jump on the picture. And this will be annoying to some people when used. So how can I disable the Trackpad slide feature on a Mac? If you are still reading this article, please refer to our article.
Step 1:
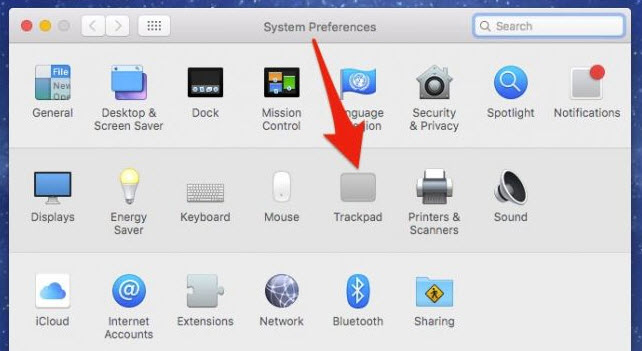
First of all, you open
System Preferences On the computer then click on the item
Trackpad just below.

Step 2:
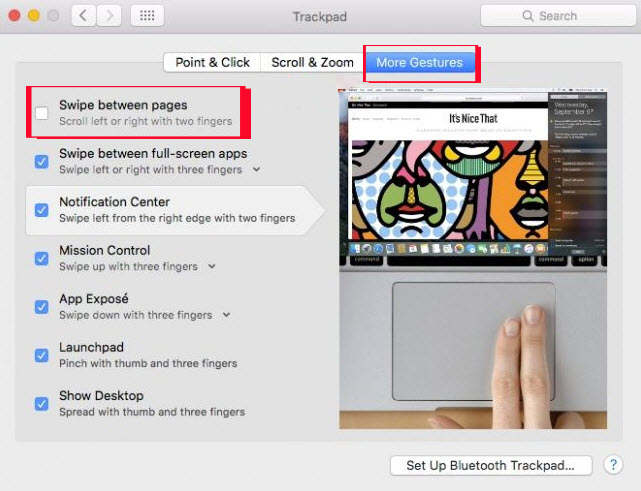
Next at the Trackpad interface, click on the tab
More Gestures above. At the interface below, we will
disappeared at the option Swipe between pages to disable swipe to the next page when accessing the Trackpad browser. In addition, we can choose to remove other features of the trackpad when unlocks the items below.

If you still want to use this feature but do not use it often, then we can set it up effectively using 3 fingers, for example. At Swipe between pages, we click on
down arrow and select action
Swipe with three fingers . Thus, when we use the familiar two finger operation will not enable the claw of the trackpad.

Here is a simple change of Trackpad feature on a Mac. We can disable this feature if we do not want to use it. Or change the previous execution of a feature on the trackpad with the available options. Try setting up and adjusting the trackpad on your Mac to suit your own usage, with the tutorial above.
Please refer to the following articles:
Wish you success!


